In Web2Chat, managing your team’s access to information and conversations is crucial for maintaining security and efficiency. By setting up roles and permissions, you can control who can view and interact with certain conversations and settings. This guide will walk you through the steps to restrict access for specific teammates.
Setting Up Roles and Permissions
To manage teammate permissions, start by navigating to the Settings section of your Web2Chat dashboard. Click on General and then select Teammates. Here, you can view your current team members and their assigned roles.
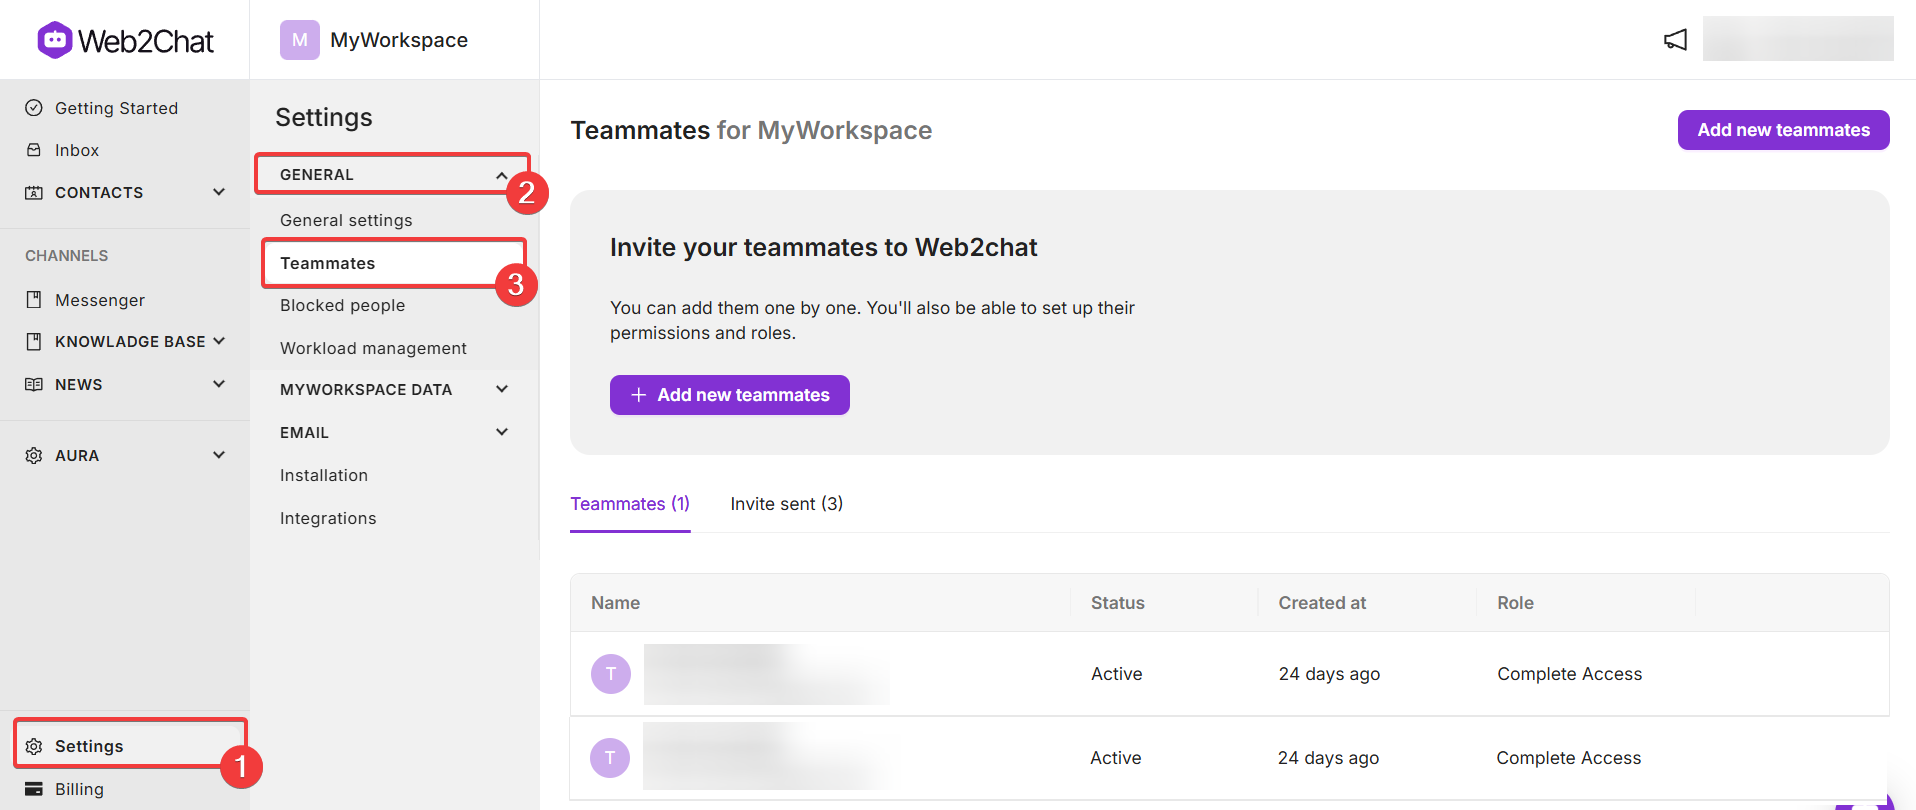
Inviting New Team Members
To add new teammates to your workspace, click on the Add New Teammates button. Enter the email addresses of the individuals you wish to invite. Learn how to add team members here.
Configuring Permissions
After inviting a teammate, you will be taken to a new page where you can configure their permissions. Below is a detailed breakdown of the permissions available in Web2Chat:
1. Conversation Access
- All conversations: Allows the teammate to access and view all conversations within the workspace.
- Conversations assigned to them only: Restricts access to only those conversations that have been specifically assigned to the teammate.

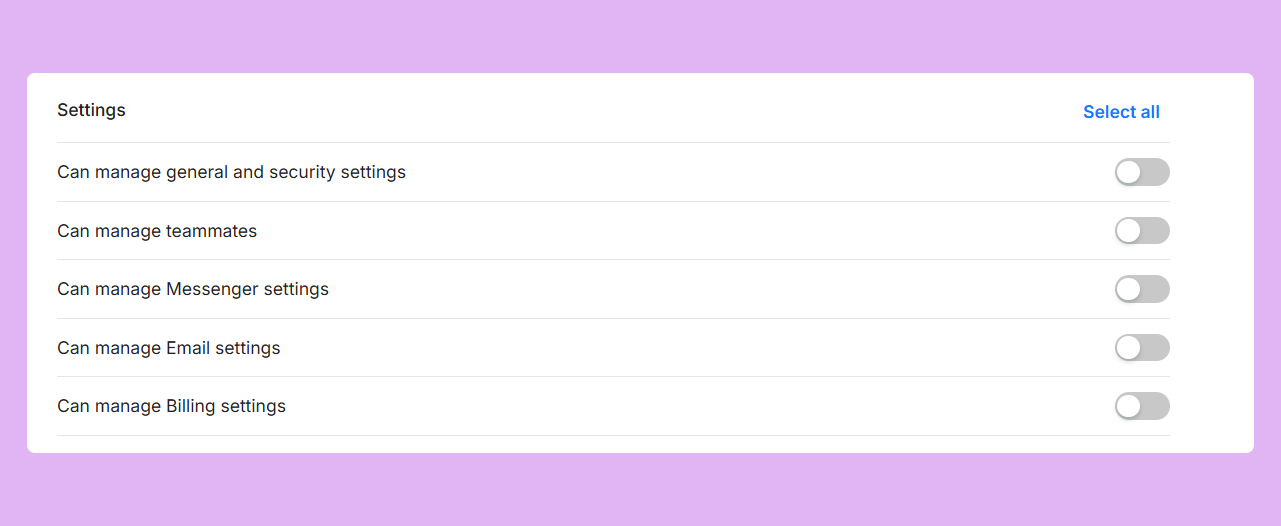
2. Settings
- Can manage general and security settings: Enables the teammate to modify general and security settings related to the workspace.
- Can manage teammates: Grants permission to add, edit, or remove other team members.
- Can manage Messenger settings: Allows the teammate to customize settings for the messaging platform.
- Can manage Email settings: Permits adjustments to email configurations within the workspace.
- Can manage Billing settings: Enables the teammate to handle billing-related settings.
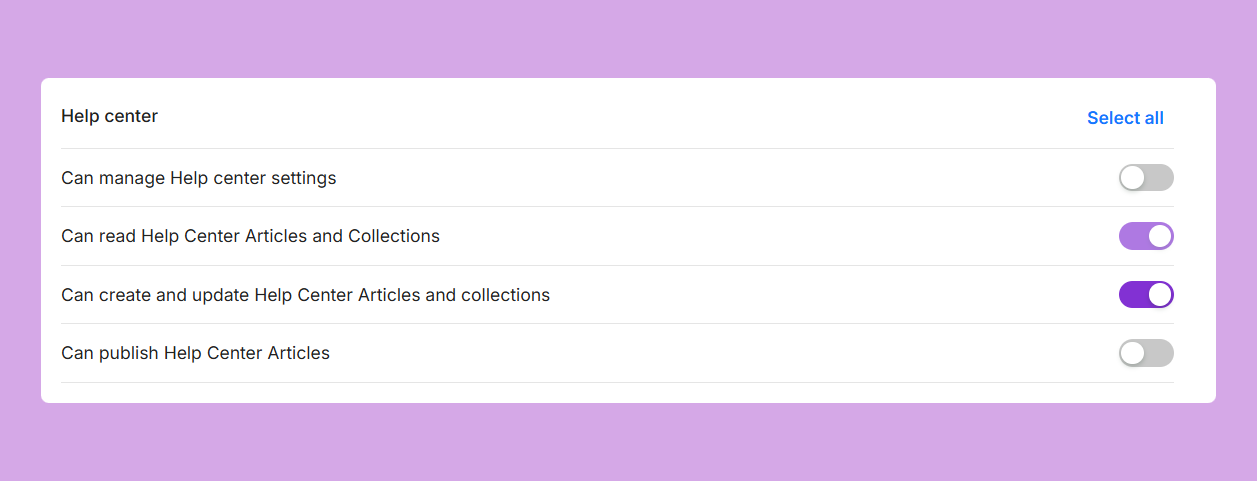
3. Help Center
- Can manage Help Center settings: Grants access to modify settings related to the Help Center.
- Can read Help Center Articles and Collections: Allows the teammate to view existing articles and collections within the Help Center.
- Can create and update Help Center Articles and collections: Enables the teammate to author and modify Help Center content.
- Can publish Help Center Articles: Permits the teammate to publish articles in the Help Center.
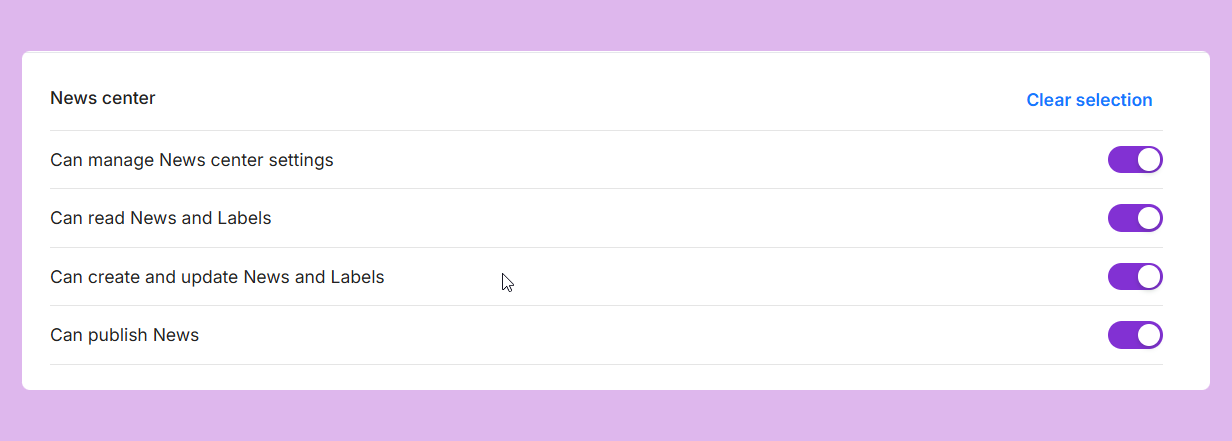
4. News Center
- Can manage News Center settings: Allows the teammate to customize settings for the News Center.
- Can read News and Labels: Grants permission to view news items and labels.
- Can create and update News and Labels: Enables the teammate to author and modify news items and labels.
- Can publish News: Permits the teammate to publish news updates.
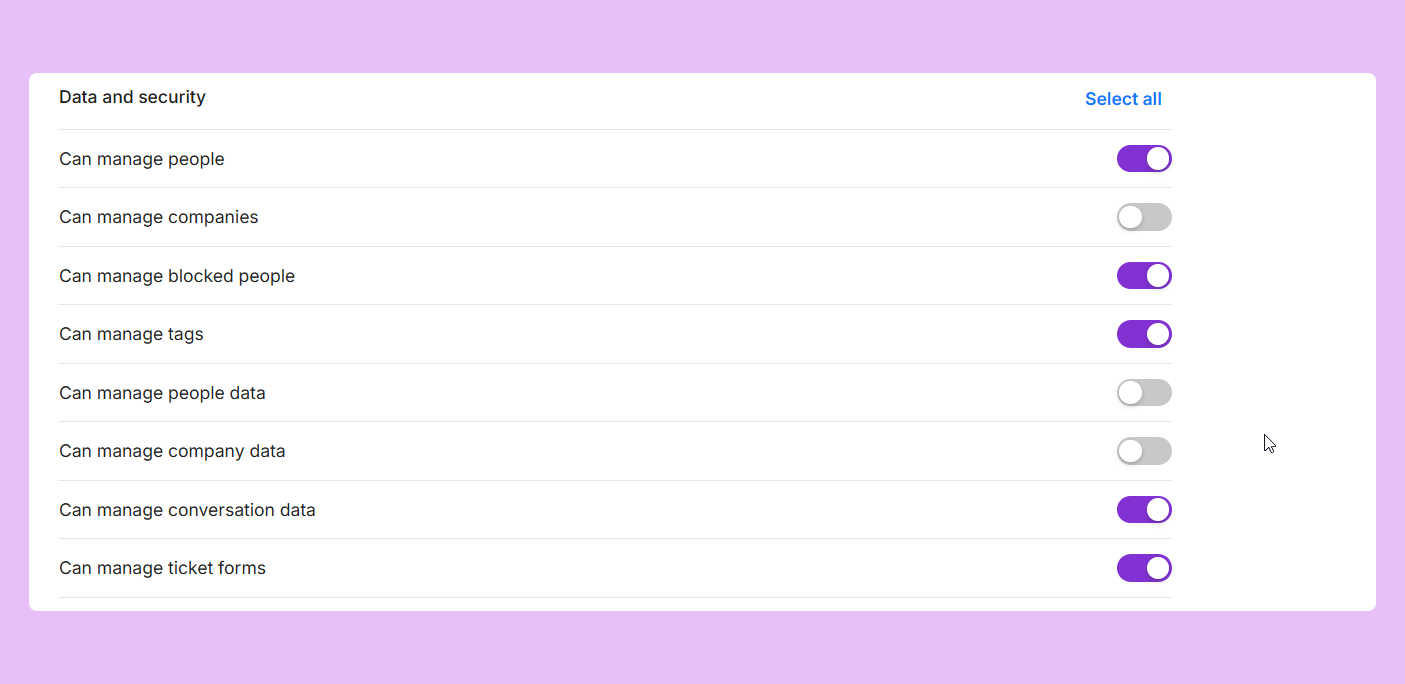
5. Data and Security
- Can manage people: Grants access to modify settings related to individual users in the system.
- Can manage companies: Allows the teammate to manage company-related data.
- Can manage blocked people: Enables the teammate to handle the list of blocked users.
- Can manage tags: Permits the teammate to create and manage tags for organizing data.
- Can manage people data: Allows modifications to user-specific data.
- Can manage company data: Grants permission to adjust company-specific data.
- Can manage conversation data: Enables the teammate to oversee and modify conversation-related data.
- Can manage ticket forms: Permits the management of ticket forms used in support requests.
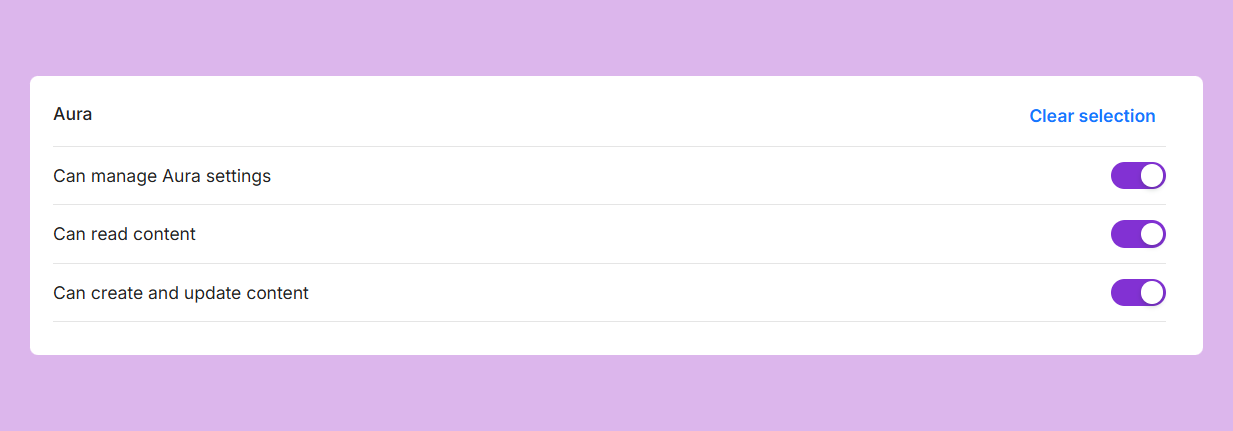
6. Aura
- Can manage Aura settings: Grants access to customize and configure settings related to Aura AI.
- Can read content: Allows the teammate to view content generated by Aura AI.
- Can create and update content: Enables the teammate to generate and modify content using Aura AI.
Best Practices for Managing Permissions
- Regularly Review Permissions: Regularly assess your team’s roles and permissions to ensure they align with your current organizational needs and security requirements.
- Assign Roles Based on Job Function: Tailor permissions according to the specific job functions of your teammates. This approach minimizes access to unnecessary information, thus enhancing security.
- Communicate Changes: When modifying permissions, communicate changes to your team to ensure they understand their roles and responsibilities.
Restricting access for some teammates in Web2Chat is essential for maintaining security and efficiency within your organization. By effectively setting up roles and permissions, you can ensure that sensitive information remains secure while still allowing your team to collaborate effectively.
If you need further assistance, contact our Customer Support.
