
Setting up email forwarding in Web2Chat allows you to forward emails to your Web2Chat account for seamless customer support management. Follow the steps below to complete the setup.
Steps to Set Up Email Forwarding
- Navigate to Settings > Email > Email Forwarding from your Web2Chat dashboard.
- Enter your existing email address in the input field provided.

- Copy the forwarding address provided in your Web2Chat app dashboard.

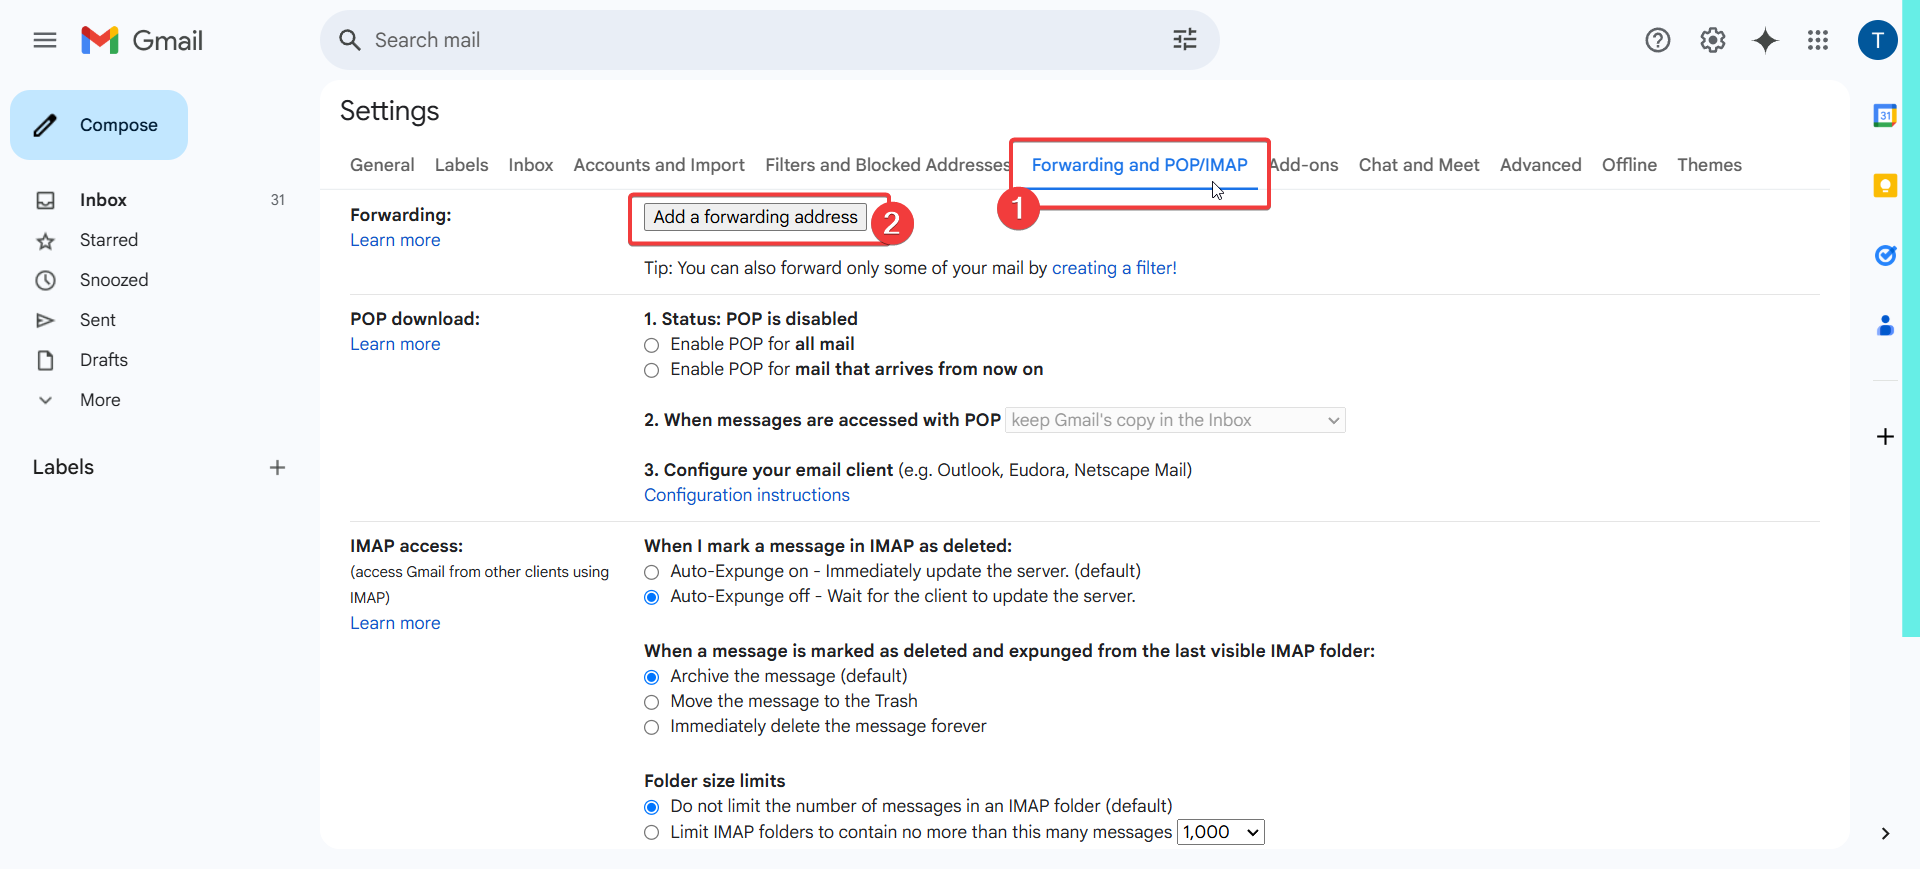
- Sign into your email provider and find the settings for email forwarding. Save the Web2Chat forwarding address you copied as your forwarding address in your email provider's settings. For this tutorial, we are using Gmail as our provider.
- Once the verification process is initiated, a link will be sent to your previous default email. Click on the link to complete the verification process.
- After completing the verification, return to Web2Chat and click on Validate Email Forwarding to ensure that Web2Chat is receiving your incoming emails.
If you need further assistance, contact our Customer Support.