
Creating an account on Web2Chat is quick and easy. Follow these steps to sign up and start managing customer interactions seamlessly.
How to Sign Up for FeedbackChimp
Follow these simple steps to sign up and set up your account.
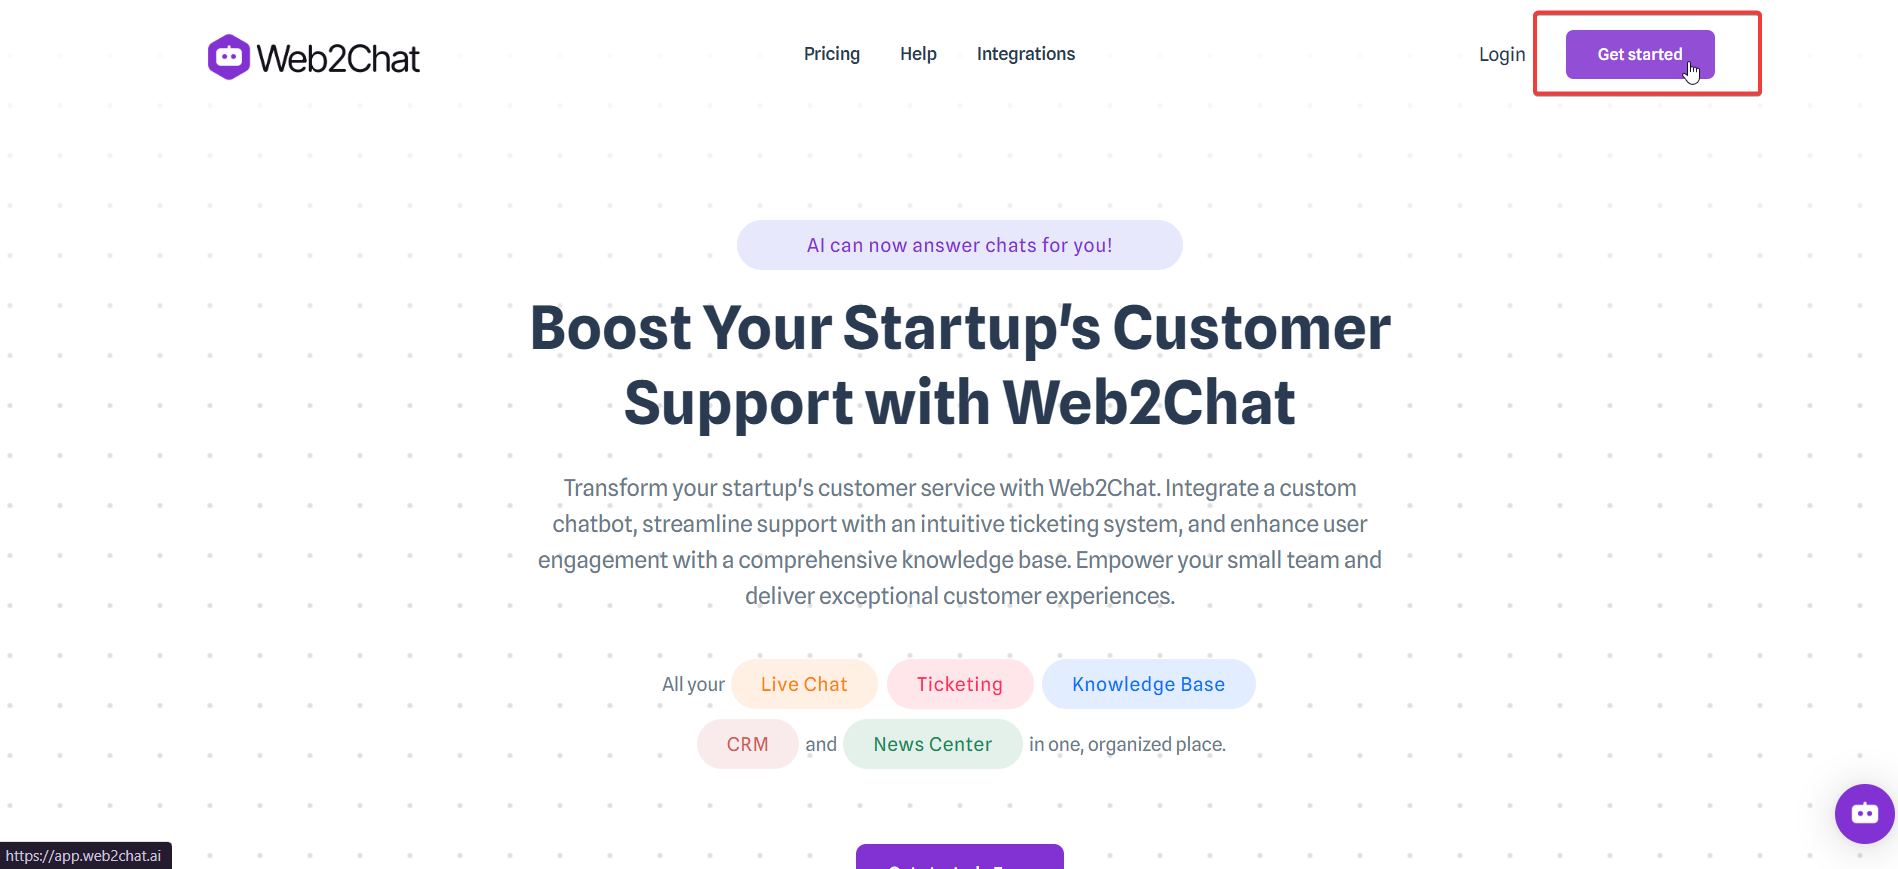
Step 1: Visit the Web2Chat Website
Go to the Web2Chat website and click on the Get Started button.
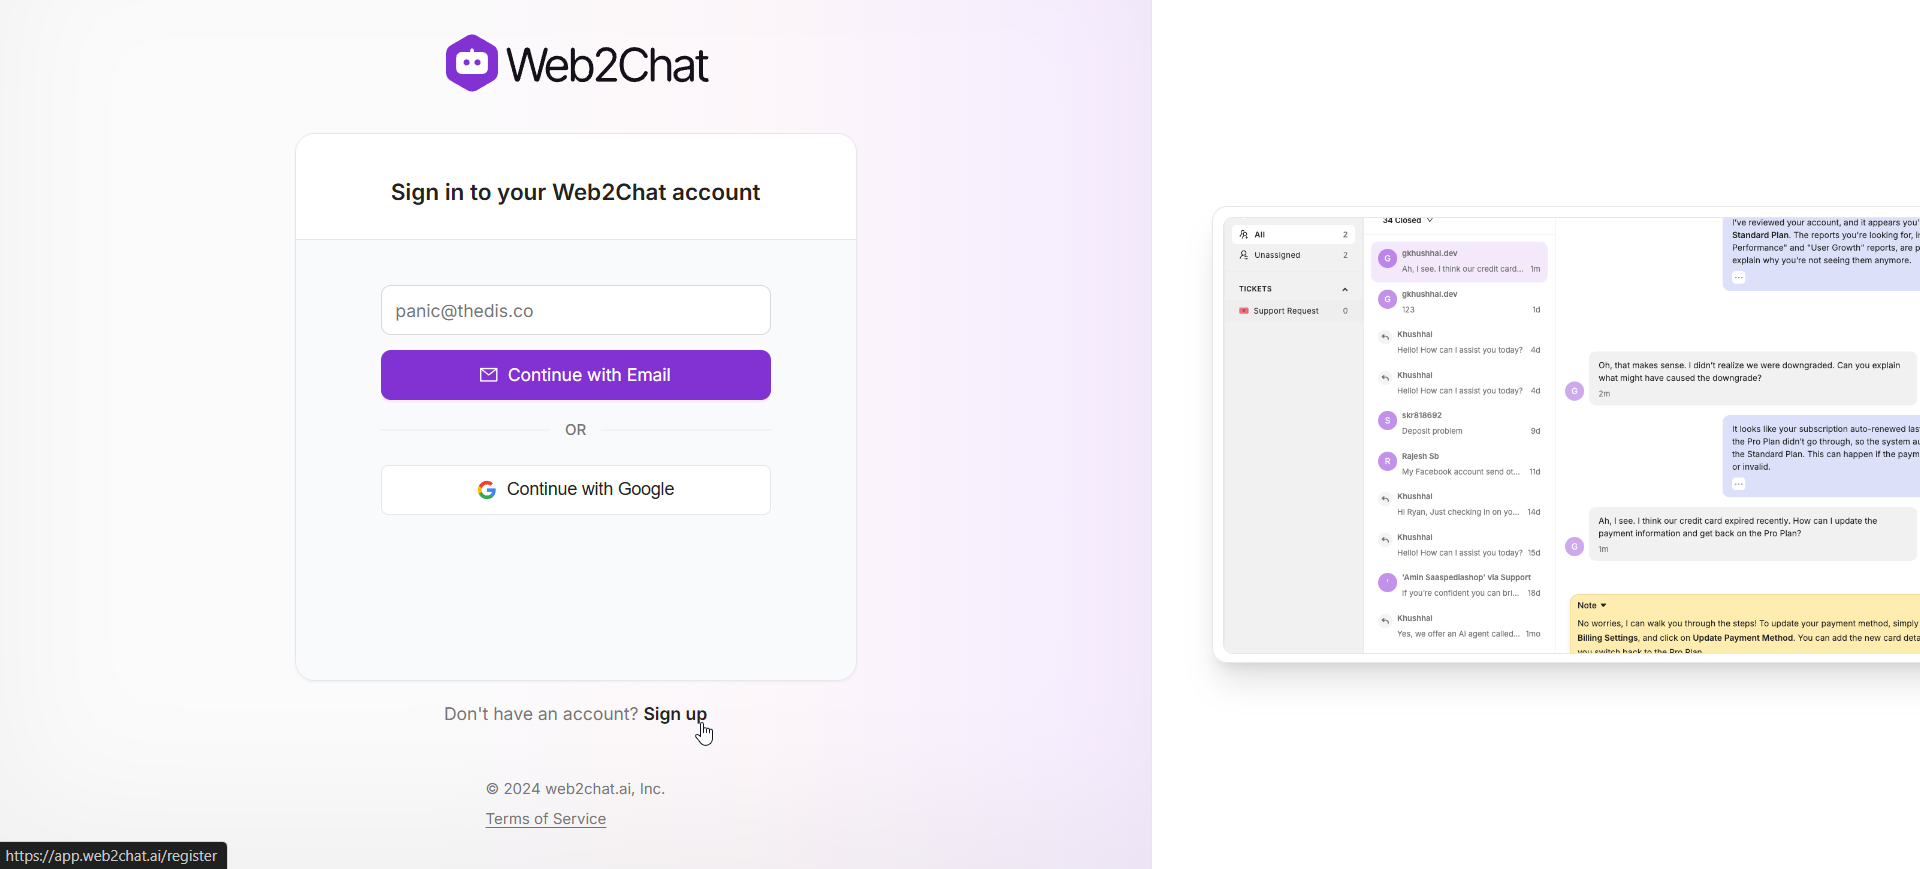
Step 2: Enter Your Email Address
You’ll be taken to a signup page where you can enter your email address to begin the account creation process.
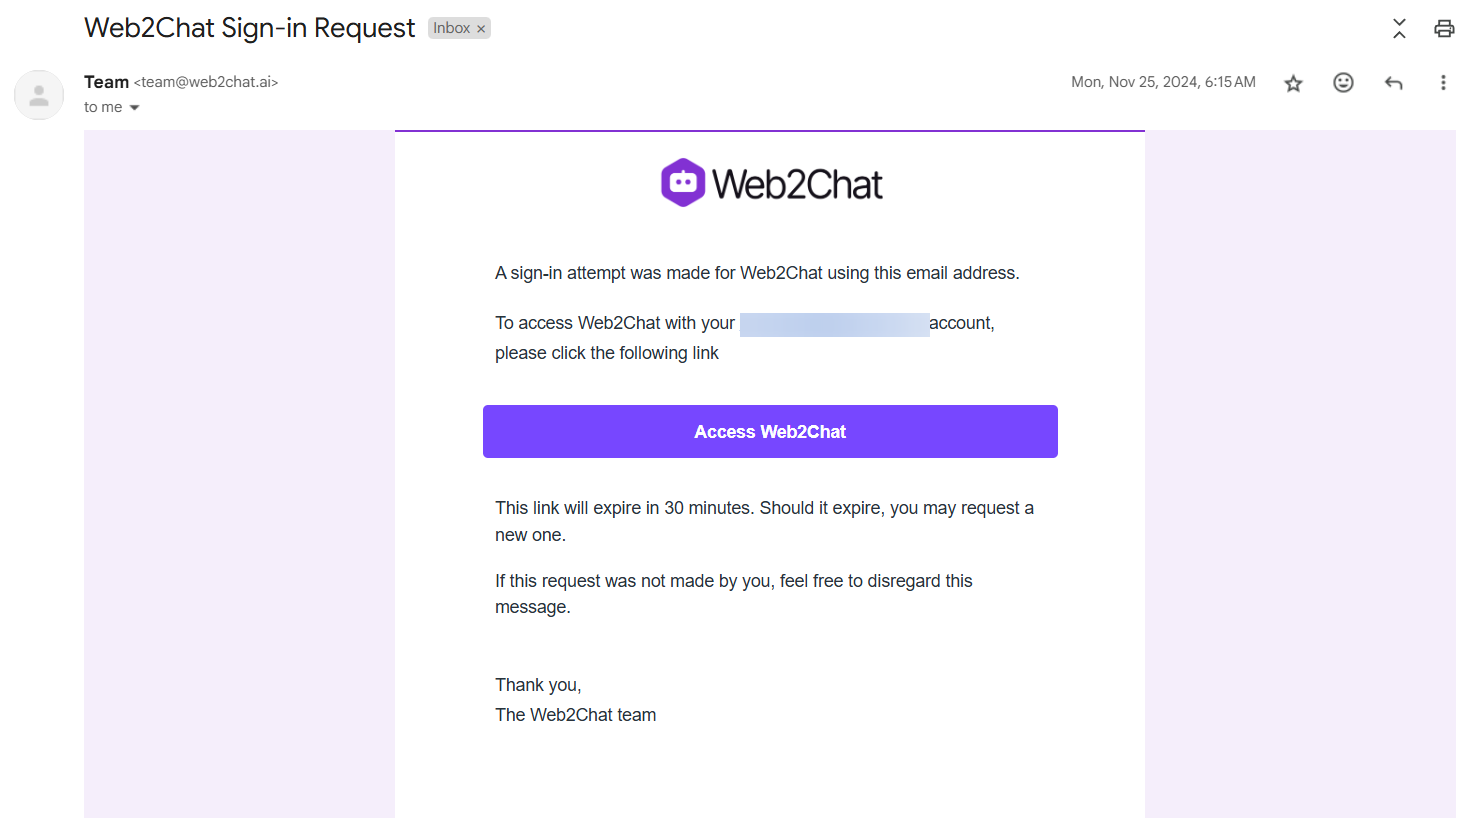
Step 3: Complete Account Setup
- After entering your email, Web2Chat will send a Sign In verification email to your inbox.
- Open this email and look for the Access Web2Chat button.
- Click the Access Web2Chat button in the verification email.
- This will direct you back to Web2Chat, completing your account setup and granting you access to the platform.
Once your account is created, you can:
- Invite Teammates – Add team members to collaborate on customer conversations.
- Customize Your Messenger – Set up branding, welcome messages, and chat preferences.
- Connect Communication Channels – Integrate email, social media, and messaging apps.
If you need further assistance, contact our Customer Support.