
Web2Chat’s integration with Framer allows you to seamlessly add the Web2Chat widget to your Framer-built website—enabling real-time support, automated messaging, and AI-powered interactions with Aura. Follow this guide to get started.
Step-by-Step Guide to Integrate Web2Chat with Framer
Before you begin:
- You must have an active Web2Chat account.
- You should already have a project created in Framer.
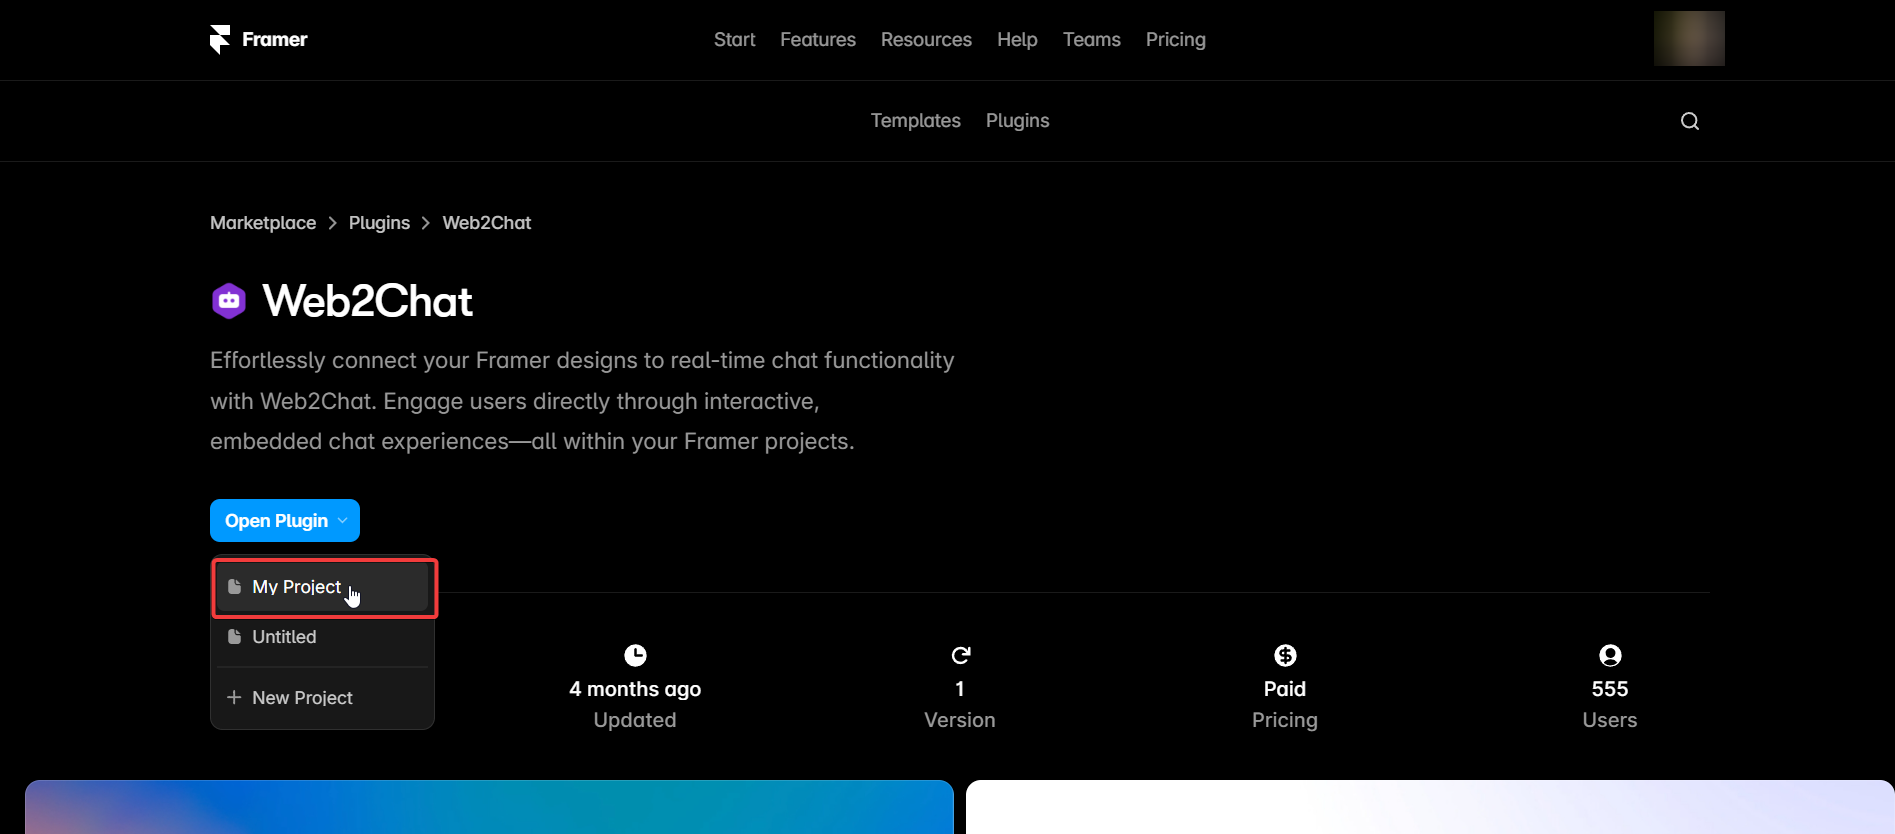
Step 1: Open the Framer Plugin Directory
- In your Framer workspace, navigate to the Plugins tab.
- Use the search bar to find Web2Chat.
- Click the Open Plugin button.
- A dropdown will appear prompting you to select a project.
- Choose the Framer project you want to integrate with Web2Chat.
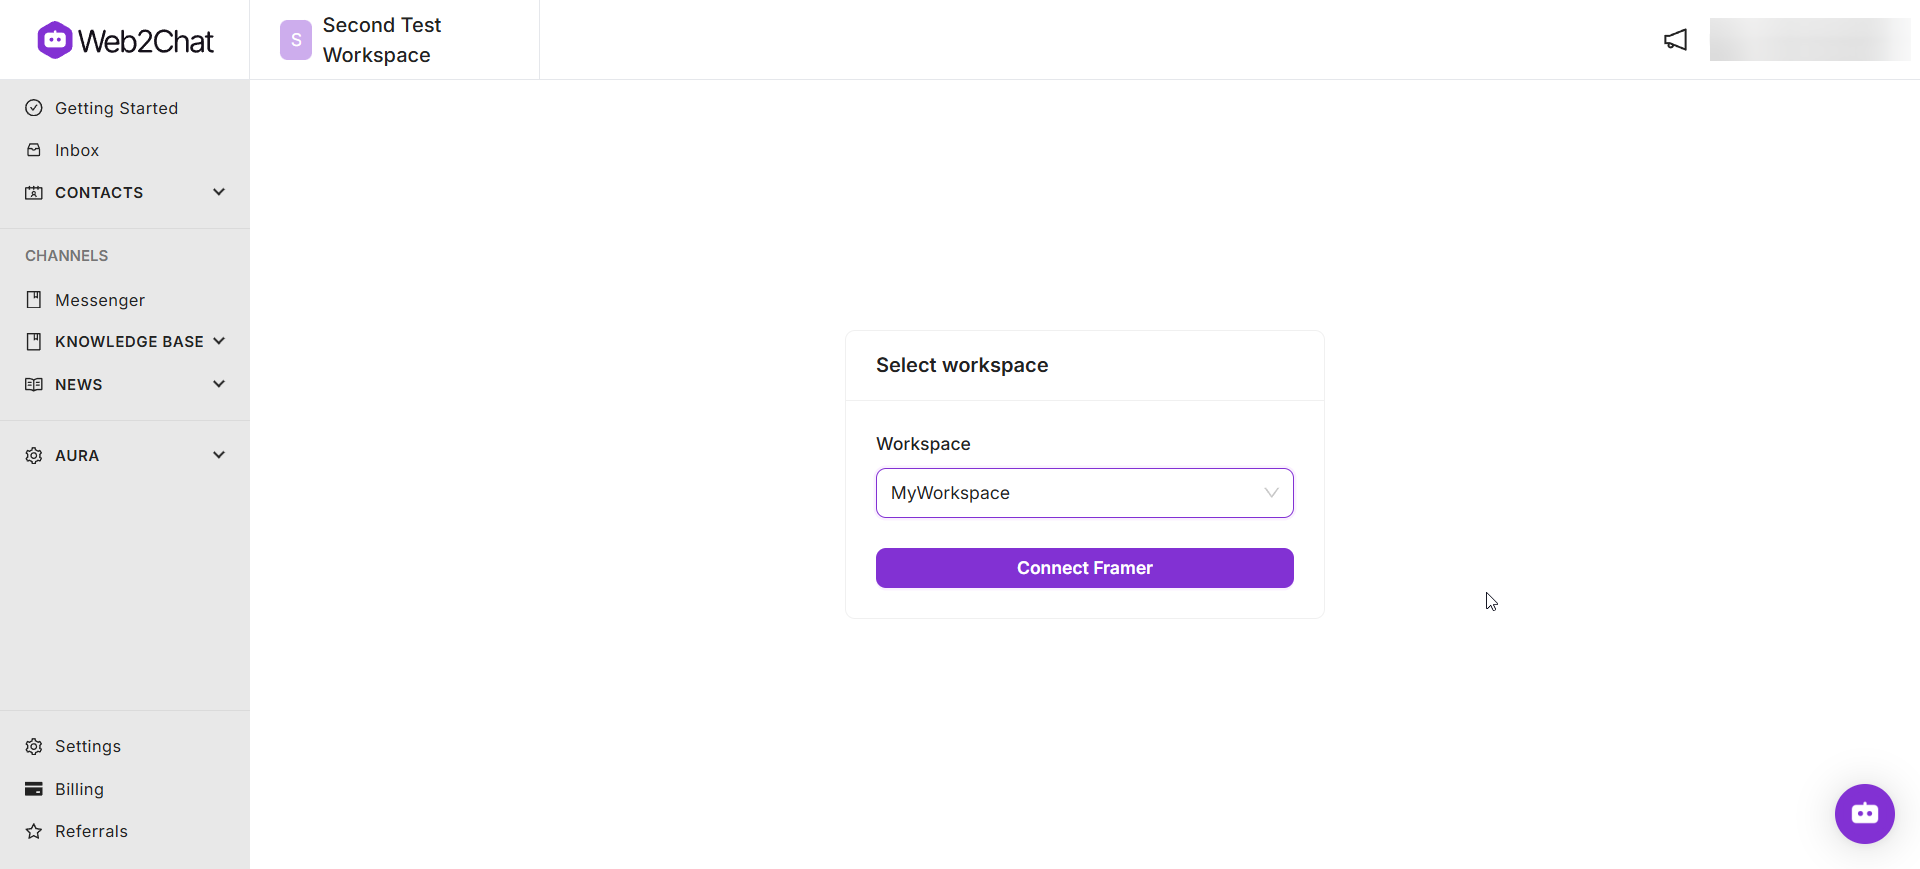
Step 2: Connect Your Web2Chat Workspace
- You’ll be redirected to the selected Framer project.
- A Web2Chat popup will appear—click the Connect button.

- You will be redirected to the Web2Chat web app.
- Select the workspace you want to connect with your Framer project.
Step 3: Install the Web2Chat Widget
- After selecting the workspace, return to Framer.
- In the Web2Chat popup, click Install to complete the integration.

Step 4: Publish Your Framer Website
- Once the widget is installed, publish your Framer project.
- You’ll now see the Web2Chat widget live on your site—ready to engage with your visitors.

If you need further assistance, contact our Customer Support.